
Logitech records certain usage data for security, support, and reporting purposes. Formula Vibration Feedback Wheel. Windows Logitech Support. Formula™ Vibration Feedback Wheel Support Register Your Product. To get the best customer care, product tips and more. Getting Started. Our top tips and questions to get you started quickly. Logitech Support. Title arrow circle title arrow. Facebook Twitter.
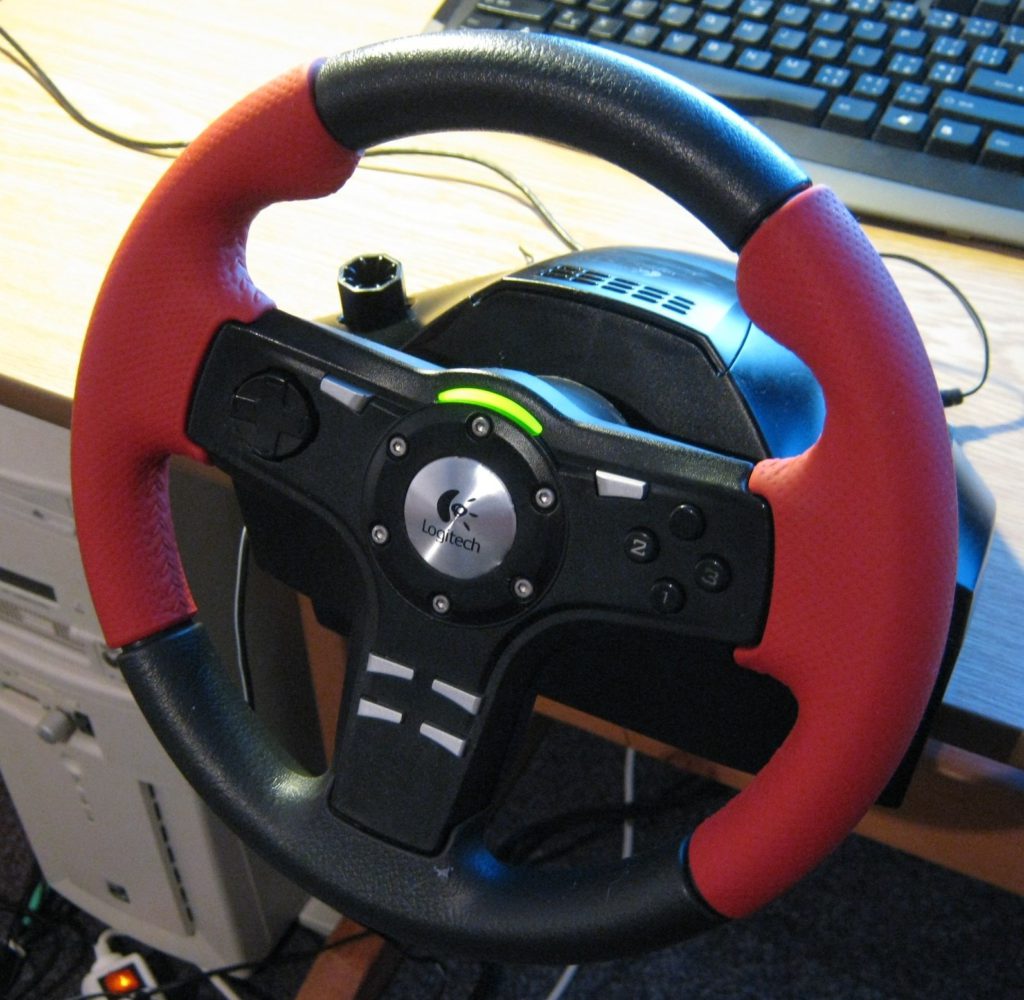
It can be the wheel's problem, just took mine apart today. Don't be afraid, it's very simple on the inside. Just take out the screws on the bottom and there are two on the wings (open state, not closed) - now the whole bottom comes off, the wings stay on the bottom part and everything else is inside the top. Now you will see the axle with the two springs connected to it (I removed the springs from mine, feels much nicer). On the very end of that axle is a small piece of electronic, a potmeter with three wires hanging out of it.
The same version of AutoCAD is in both software packages but the product key differentiates one package from the other. Free autocad architecture 2012 crack 32 bit free download software. Note: Please ensure you are using the correct product key for the Autodesk product and version you are installing. For example, installing AutoCAD 2012 as a point product requires product key 001D1, but installing AutoCAD 2012 from the Autodesk Product Design Suite Ultimate 2012 requires product key 781D1.
Now connect your wheel to the PC and fire up some tool that shows the exact wheel position (Windows' usb game controller utility does the trick, but I'd recommend some SimBin title, Volvo The Game is available for free, the advanced settings offer a much more precise bar for calibrating). When connected, try moving the potmeter instead of the wheel itself.
You'll notice that the PC sees the movement. Now manually find the point where it's centered and fix the potmeter in that position with something - e. Duct tape or something more professional. Hope this helps someone goofing around here looking for a solution.:) EDIT: I took off the white part that keeps the main axle in place and tried to fix the position of the sensor with a small piece of paper, turned out to be rubbish, so I kept going and had a way better idea.
I took out the wiring from the sensor and put a rubber band on it, then I put the wiring back in and hanged it on the left side of the plastic - on the photos this is the yellow one with many twists. For extra stability I added two more bands after that (the other yellow and the red one), this keeps the sensor straigt on the y axis (causing less tearing), but in the x axis it's tilted to the left, so it is pretty much centered. Also, the twisted yellow band is between the other two! With this you can make sure it will keep its position and won't move downwards and lose effect. This whole setup won't stick forever, and may kill the sensor eventually, but it is a working and pretty stable solution. Also, it brings back and otherwise useless piece of tech to life.
You have to find the right strength of the bands yourself though (adding twists will increase it) depending on the current position of your sensor. (The whole wheel isn't an engineering marvel and even the centered sensors wobble around causing craziness, so you can do this on both sides, just to make sure it's precise.) Posted on May 31, 2015.
- Author: admin
- Category: Category
Logitech records certain usage data for security, support, and reporting purposes. Formula Vibration Feedback Wheel. Windows Logitech Support. Formula™ Vibration Feedback Wheel Support Register Your Product. To get the best customer care, product tips and more. Getting Started. Our top tips and questions to get you started quickly. Logitech Support. Title arrow circle title arrow. Facebook Twitter.
It can be the wheel's problem, just took mine apart today. Don't be afraid, it's very simple on the inside. Just take out the screws on the bottom and there are two on the wings (open state, not closed) - now the whole bottom comes off, the wings stay on the bottom part and everything else is inside the top. Now you will see the axle with the two springs connected to it (I removed the springs from mine, feels much nicer). On the very end of that axle is a small piece of electronic, a potmeter with three wires hanging out of it.
The same version of AutoCAD is in both software packages but the product key differentiates one package from the other. Free autocad architecture 2012 crack 32 bit free download software. Note: Please ensure you are using the correct product key for the Autodesk product and version you are installing. For example, installing AutoCAD 2012 as a point product requires product key 001D1, but installing AutoCAD 2012 from the Autodesk Product Design Suite Ultimate 2012 requires product key 781D1.
Now connect your wheel to the PC and fire up some tool that shows the exact wheel position (Windows' usb game controller utility does the trick, but I'd recommend some SimBin title, Volvo The Game is available for free, the advanced settings offer a much more precise bar for calibrating). When connected, try moving the potmeter instead of the wheel itself.
You'll notice that the PC sees the movement. Now manually find the point where it's centered and fix the potmeter in that position with something - e. Duct tape or something more professional. Hope this helps someone goofing around here looking for a solution.:) EDIT: I took off the white part that keeps the main axle in place and tried to fix the position of the sensor with a small piece of paper, turned out to be rubbish, so I kept going and had a way better idea.
I took out the wiring from the sensor and put a rubber band on it, then I put the wiring back in and hanged it on the left side of the plastic - on the photos this is the yellow one with many twists. For extra stability I added two more bands after that (the other yellow and the red one), this keeps the sensor straigt on the y axis (causing less tearing), but in the x axis it's tilted to the left, so it is pretty much centered. Also, the twisted yellow band is between the other two! With this you can make sure it will keep its position and won't move downwards and lose effect. This whole setup won't stick forever, and may kill the sensor eventually, but it is a working and pretty stable solution. Also, it brings back and otherwise useless piece of tech to life.
You have to find the right strength of the bands yourself though (adding twists will increase it) depending on the current position of your sensor. (The whole wheel isn't an engineering marvel and even the centered sensors wobble around causing craziness, so you can do this on both sides, just to make sure it's precise.) Posted on May 31, 2015.